Fixing fast shutter speed in 6K photo footage

The most recent Panasonic cameras include several smart features such as post-focus, focus and aperture stacking and the 6K photo mode. The mode allows the photographer to capture 6K images up to 30fps contained in an MPEG4 file using the h.265 HEVC video codec. It’s a nice feature to have but it may require a bit of technical info to get the most from it.
By now the 6K Photo Play function on the Panasonic GH5 and G9 Micro Four Thirds cameras has been fairly well covered. But what happens when you actually like the video footage more than the photos? When beginning to record there may not have been any intention of actually using the 6K video file. The 6K function allows the user to save out frames or stills from within the cameras interface.
Learn more about Lumix Lenses Here
If the video file is actually required then we will need to do some extra processing. Working with a 6K resolution file has some serious benefits in post-production. However, what about the camera settings used in capturing the footage. Focus and aperture is probably fine, ISO levels are unlikely to cause any issues, but the shutter speed is likely to be way off what would be considered acceptable for natural looking smooth motion.
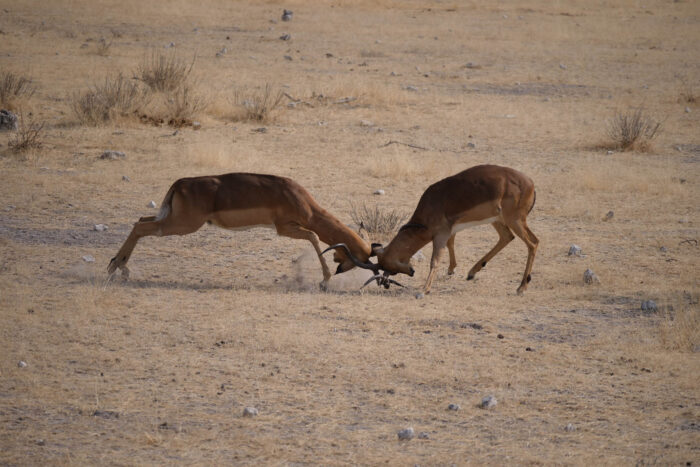
The example below was shot with a GH5 at a focal distance of 100mm (200mm full frame equivalent) at f/4, ISO100 and 1/1,300s. Being in 6K photo mode has already set the frame rate which is 30fps. Therefore, i need a shutter speed of around 60fps to for natural looking motion. A great feature of the GH5 is setting Shutter Angle rather than shutter speed when recording video. When set to 180° the shutter speed is fixed to that of twice the frame rate. This is considered the normal setting for natural looking motion blur. A video with a shutter speed set to 1/1300s is going to look way too detailed and probably quite jittery.
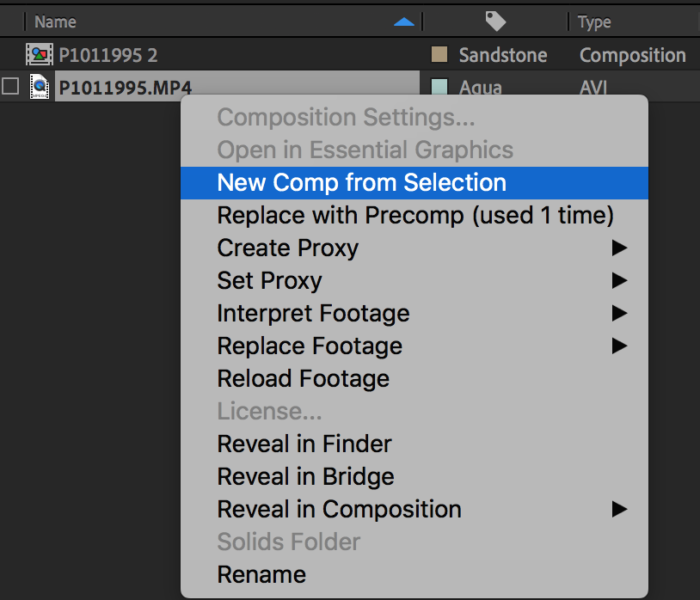
Take the raw 6K footage in whatever aspect ratio it was recorded. Load the file in to Adobe After Effects, create a New Comp from Selection. This will create a new composition with the exact settings that it was recorded in.
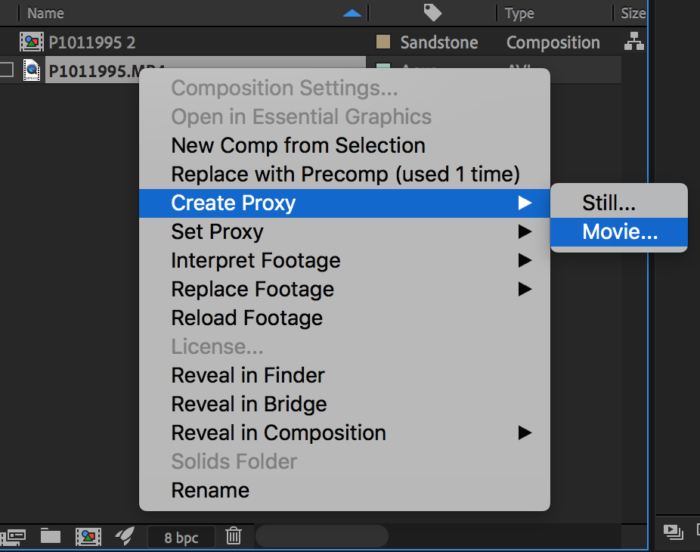
Creating proxies at this stage would be beneficial for real time rendering and playback within the timeline. 6K footage is going to be a struggle for most graphics cards. We’re probably a few years off having capable hardware for the processing of anything 6K or over.
Learn more about Lumix Lenses Here
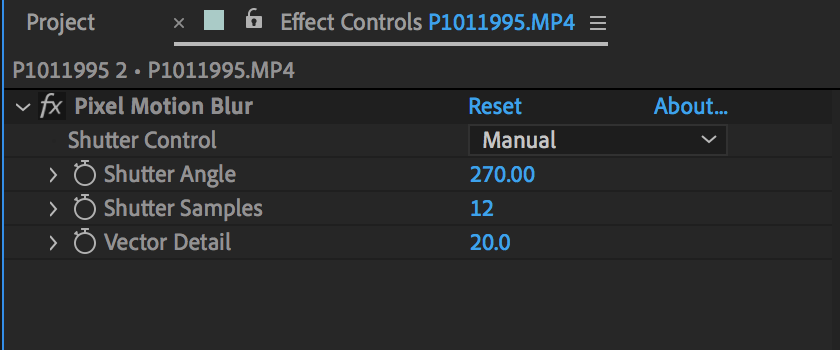
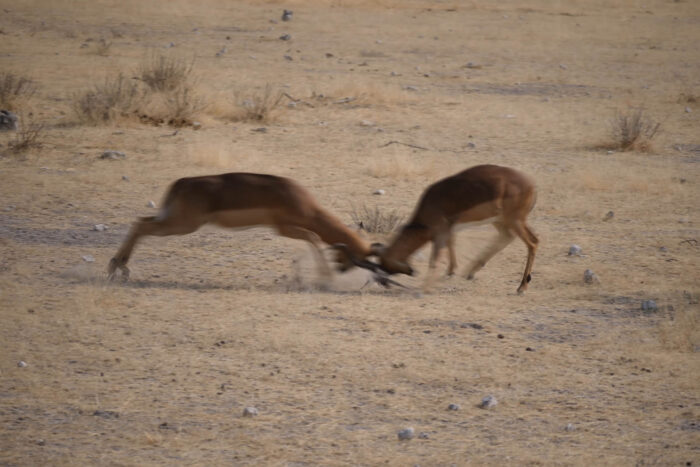
Once everything is in place select the Pixel Motion Blur from the Effects and Presets menu and drag it on to the footage in the timeline or preview window. Next, select the desired Shutter Control settings. As you’ll notice the shutter control is set as Shutter Angle not Shutter Speed. This setting determines the intensity of motion blur. The shutter angle is measured in degrees, simulating the exposure caused by a rotating shutter.
Simulated exposure time is determined by dividing the shutter angle by the frame rate times 360°. For example, a shutter angle of 90° causes an exposure of 1/96 of a second per frame: 90° / (360° * 24 fps). – find more info here on Shutter Angle. Generally the correct setting for 2x the frame rate would be 180° Shutter Angle. However, due to the original footage being filmed at such a fast shutter speed (1/1300s) i’ve increased the angle to 270° to try and smooth out the footage.
Other parameters include Shutter Samples, which will control the quality of the motion blur. A higher value will result in smoother motion blur but will increase rendering time. Vector Detail determines how many motion vectors are used during frame interpolation. The more vectors used, the longer the rendering time. For example, a value of 100 produces one vector per pixel. Increasing this value doesn’t always produce the best results. Sometimes a lower value may look better.
Try experimenting with the settings to find the best results. Render times are likely to be very long depending on the length and complexity of the footage.