Sports Photography Tips And Tricks

Here we are on the Gold Coast for the Australian Surf Life Saving Championships. This event is huge with 314 surf clubs competing in 480 beach and ocean events. The event is over a week long and i’m lucky enough to be providing photography coverage for 4 of those days.
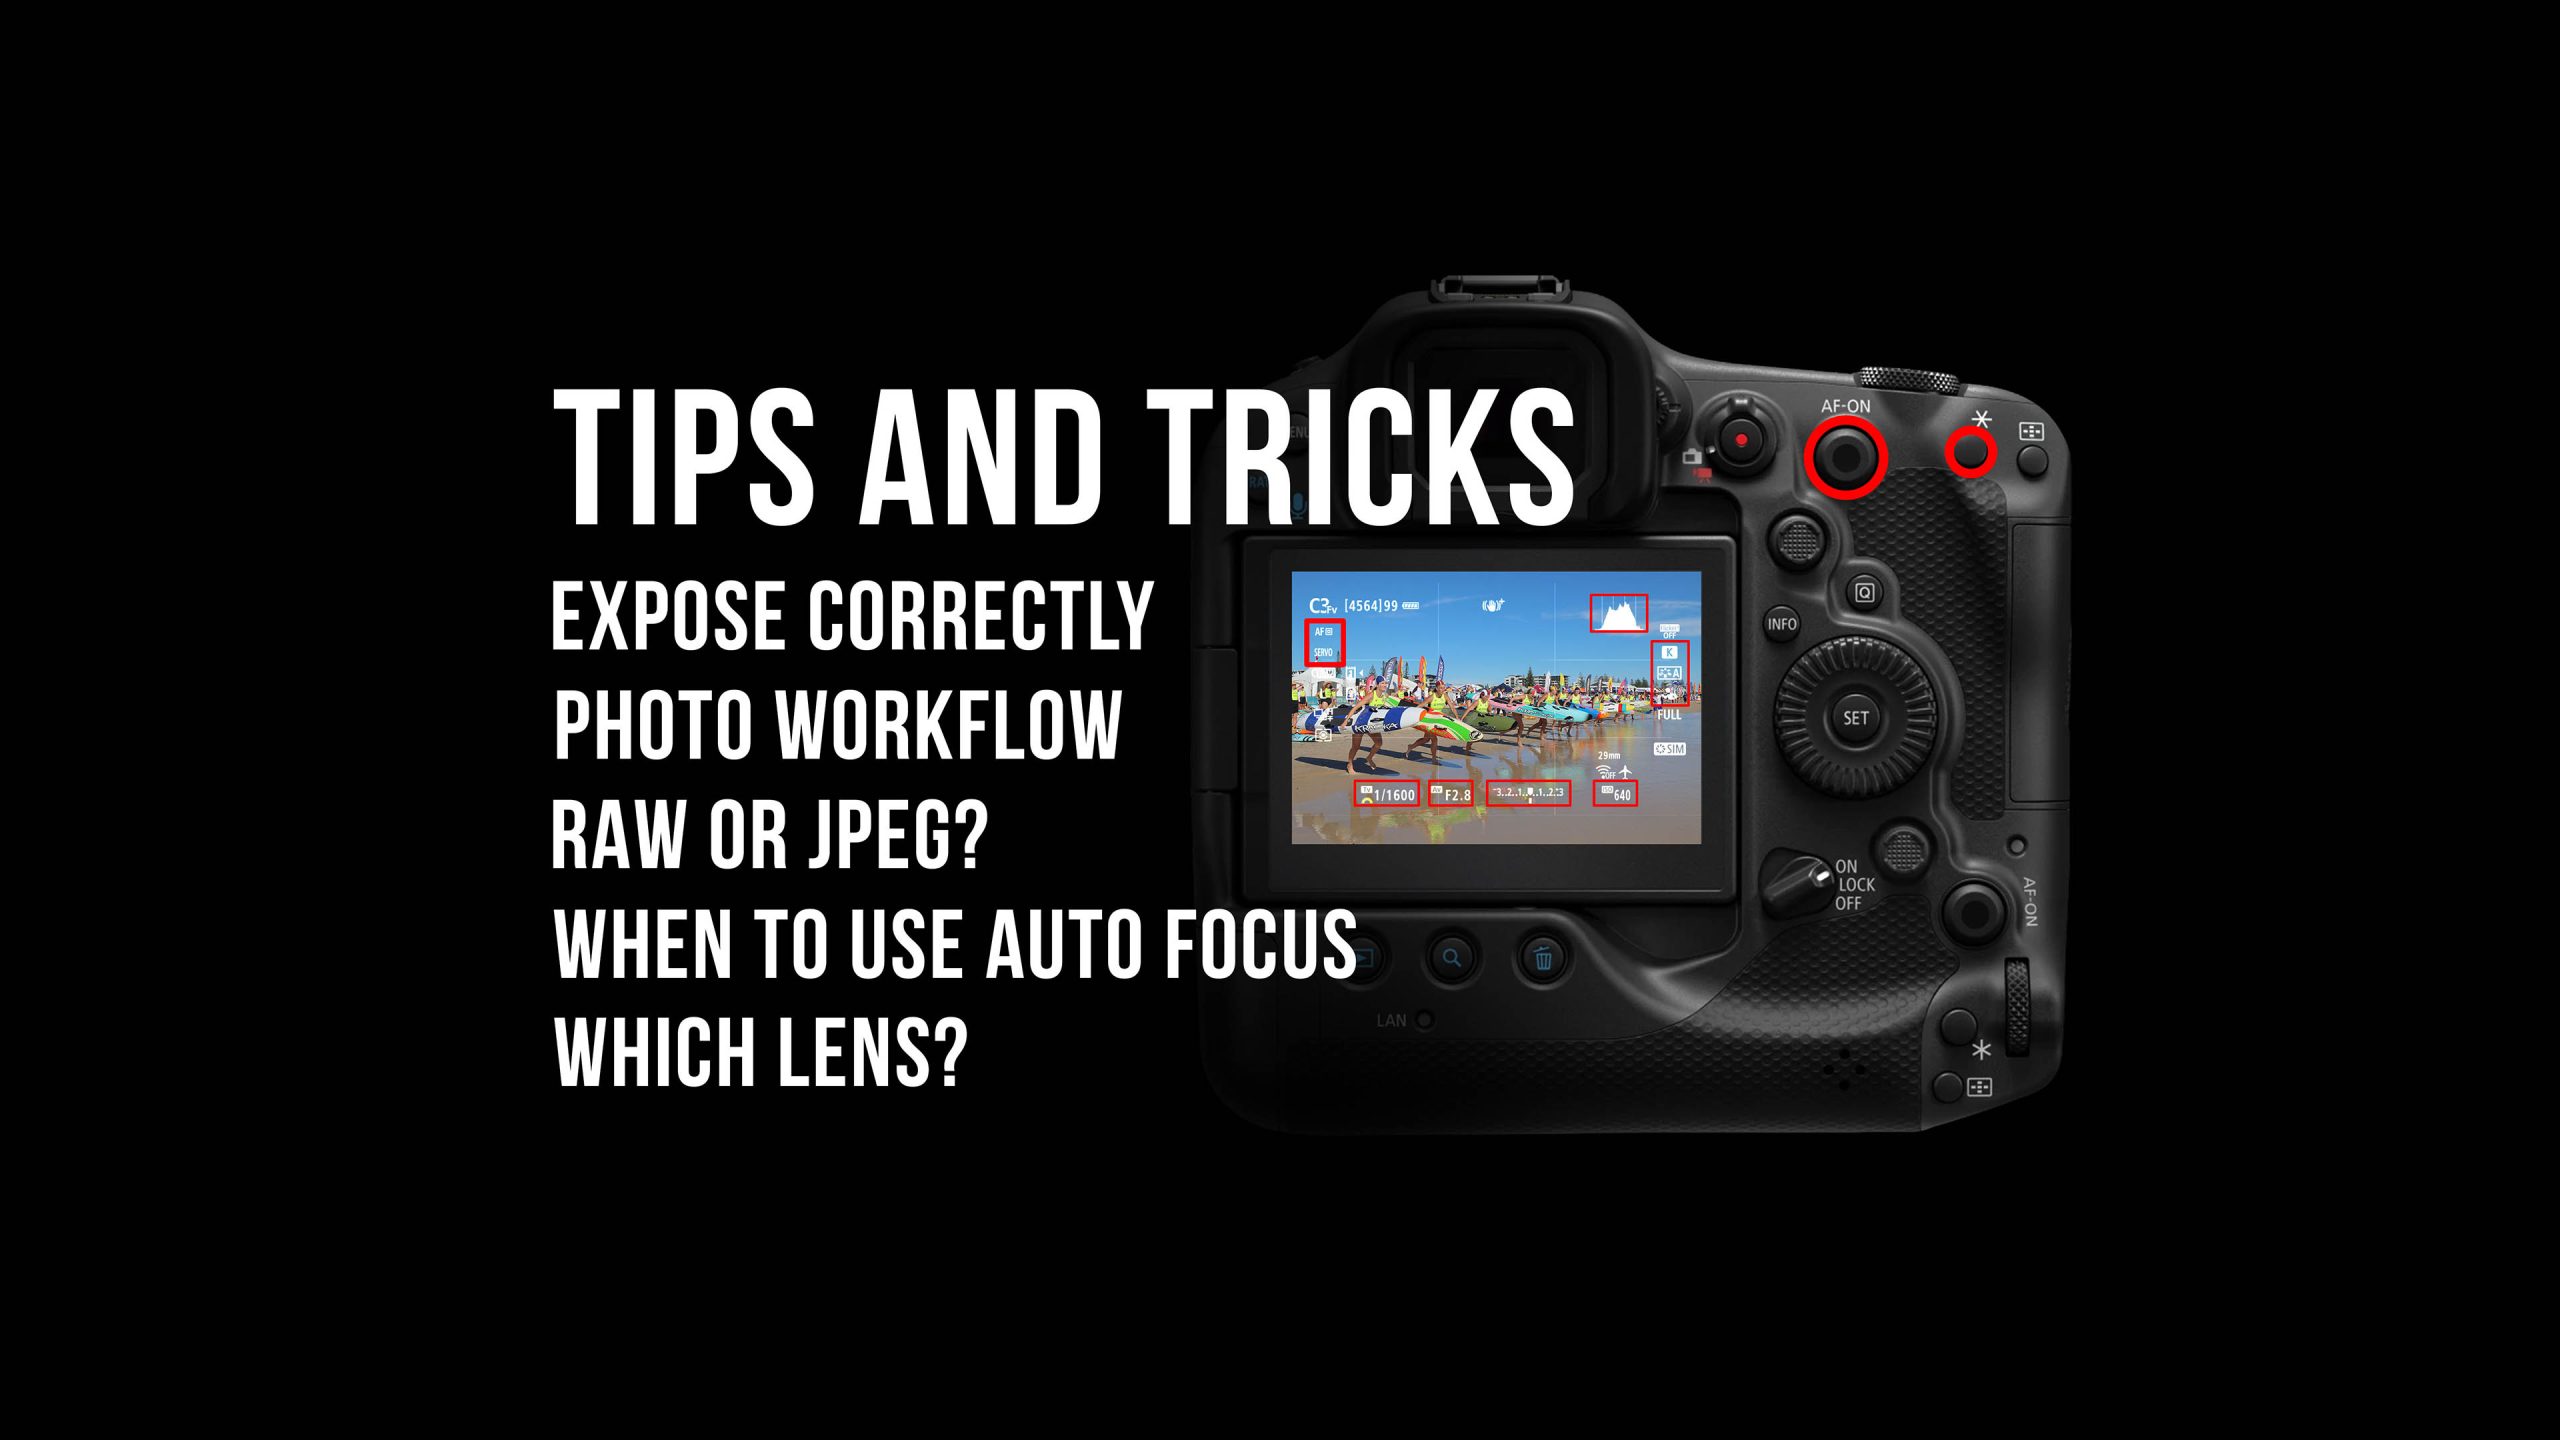
I’m also going to take the opportunity to demonstrate some of the auto focus features on the Canon R3 and R5 cameras in a real world situation at a live event and also, to help understand when to use eye tracking AF and or to simply use single point focus.
For this event it’s likely that i will shoot several thousand photos so developing a process for photo selection and file management is really important. I’ll take you through a few simple photography workflow tips and tricks including how to select your best photos, transfer to your computer and to make simple edits ready for use.
I’m also going to show you how i set my cameras to achieve the best exposure possible for shooting jpeg. Always try and get the best exposure in camera. If you’re shooting in burst mode over several days RAW processing can be extremely time consuming and often unnecessary. You will save a lot of time by simply exposing correctly in camera, this means setting the white balance, using exposure compensation, adjusting colour profiles and composition.
Most often i will carry two cameras with different lenses. I’ll be using the RF100-500, RF400 2.8, RF70-200 2.8 and the RF15-35. I’ll show you the pros and cons of each camera and lens and what the best combination is for events like this.
There’s so much going on right now so let’s get in to it.
As i mentioned at the start for this type of photography coverage it’s essential that you have a really efficient workflow in place for the selection, transfer and editing of your photos. You may also need to add captions and descriptions.
If you’re shooting in burst mode, and i think most sports or action photographers would most likely be shooting in burst mode, you will eventually end up with thousands of photos and you’ll need to be very selective over the ones that will be kept. I generally like to start the culling process in camera during the event by adding a lock marker on the photos that i intend to transfer or ingest on to the laptop.
Just to give you an idea of how many photos can be taken at events like these. On the R3 I took 12142 photos over 4 days and on the R5 I took 3518 photos. Of course I wont be using all of them I need to somehow select the usable images and discard the rest.
I use a software program called Photo Mechanic by Camera Bits which handles the entire ingest process. I’m able to set the software up to only transfer locked files from the camera to the laptop. I can also select either RAW photos or just JPEG. So when i put the SD or CF Express card in the card reader the software will automatically detect the media card and start to copy the files over. During this process the files are also being renamed or numbered and placed in to a folder. I also have a brief description of the event saved in to a metadata file that will be added to each photo. I can use Photo Mechanic to edit the metadata once the photos have been transferred.
By using this software allows me to work and shoot in the way i prefer. I like to use burst mode, eye tracking auto focus and i like to cover as much of the action as possible. I’m extremely trigger happy but that’s the way i like to use my cameras.
Photo mechanic also allows you to upload filed via FTP if you need to.
I think it’s the best photo/image workflow software on the market right now so please check it out.
I also have another more in depth video that explains how Photo Mechanic works. That can be viewed here.
The next topic i’d like to cover is setting the camera up to capture photos that require minimal editing in post production as this will massively speed up your photo workflow. It will also mean you’re not staying up late at night editing hundreds of RAW files.
What i’m basically referring to is shoot JPEG and forget about RAW processing. By setting your camera to expose properly you can shoot jpeg without any major concerns over image quality.
This basically means setting up your white balance to accurately reflect the environment your shooting in, using exposure compensation and the histogram to allow you to push the camera’s exposure settings as far to the right as possible without clipping the highlights. By doing this your images will look bright, clean and vibrant. Basically, instead of increasing the exposure in RAW just do it in camera.
Another really important setting is your colour profile. Almost all Mirrorless and DSLR cameras will allow you to create a custom picture style or profile that only applies to the JPEG files. So think about how you would edit in RAW and then try and apply those settings to your colour profile or picture style in camera. So if you like photos with a lot of contrast or heavily saturated images then set your profile to reflect your style of editing.
This is how i set my picture style on the Canon cameras. I use the Auto selection at the top and then adjust the contrast down and then generally leave sharpness, saturation and colour tone at their default levels.
Also, check on your backgrounds, try to adjust your position so that you have a clean backdrop and lower yourself down to below eye level for more immersive action shots.
Now let’s look at the difference between a JPEG shot in camera using these exposure techniques to that of the RAW file to see how they differ.
Another useful tool that most modern cameras have is the level indicator and also on screen grid display lines that help you to keep your camera straight improving the composition of your photos. Most of my post production editing is actually cropping so if i can minimise the amount of cropping i’m having to do in photoshop then i’m massively reducing my workload.
In the menu system on Canon cameras scroll to the 9th bank of Red Section and scroll down to Shooting info display to activate the on grid display guides to help with better compositions. From here you can also change the histogram settings and screen info settings.
Use the Info button on the back of the camera to scroll through the screen info settings on the LCD display.
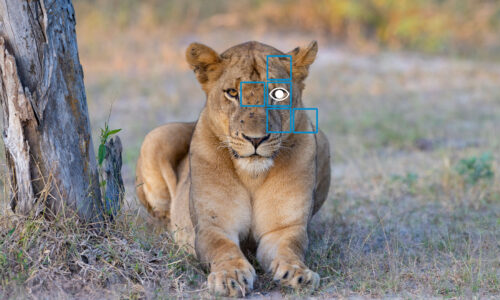
Now we need to talk about Auto Focus! The Canon R3 and R5 cameras have insanely accurate eye tracking auto focus software. The other R series cameras also have this functionality as well as the Sony and Nikon cameras. But, despite this incredible feature it doesn’t always to exactly what you want so it’s really important to set your camera up to allow you to easily switch from auto focus to single point focus.
I adopt a duel back button focusing set up, which allows me to move quickly from single point to eye tracking depending on the subject i’m shooting. I customise buttons on the back of the camera to allow for my preferred set up.
Single point back button focusing is incredibly useful as it will allow you to set focus on a subject and then wait until the right moment to activate the shutter. This is because we can deactivate the focusing or metering on the main shutter and instead move it to another completely separate button, usually one of the back buttons.
So we’re basically able to separate the main functions when shooting an image which is the metering or focusing of the subject and then the actuation of the shutter. We can customise our controls and assign these two functions separately to different buttons on the camera. On the main shutter button I’m disabling metering and focusing so it therefore only acts as a button that takes the image or controls the shutter.
Then we can customise our back button controls. I actually assign two of the back buttons for different focusing techniques. Single point and eye tracking.
Eye tracking auto focus is incredible and will, if set up well and customised for the right subject, allow you to lock on to the eye of your subject ands nail focus.
However, there are times when it will simply be a nuisance and can possibly mean missing focus on your desired subject. This is when single point focus comes in to play.
This is a great example as i have so many people in the scene i can’t rely on the auto focus to select the subject i’m trying to photograph. The eye tracking AF isn’t a mind reader, it will simply focus on whatever it thinks you want to photograph. Single point focus allows you to override the eye tracking and select your desired subject.
It can also help to guide the eye tracking to your subject. I’ve actually noticed this on several occasions while i’ve been shooting. I just move the camera and lens towards my subject and activate single point focus and then immediately switch to eye tracking. It almost always latches on to the eye of my intended subject.
This is a great example for when to use single point focus. This is the catch the flag event so my subjects are moving very quickly and the scene is confusing for the auto focus to work effectively. Therefore, single point focus could be a better option.
I’m using the RF100-500 lens and I’m simple trying to anticipate the action by focusing on the flag waiting for the contestants to fill the frame. I’m going to push the aperture up to f11 to allow more of my subjects to be in focus. The light is really good so I’m able to maintain a fast shutter and also control the ISO levels. I’m simply waiting for the contestants to come in to shot while using the burst mode. It required a few adjustments but I managed to get some really nice action shots without using the eye tracking Auto Focus.
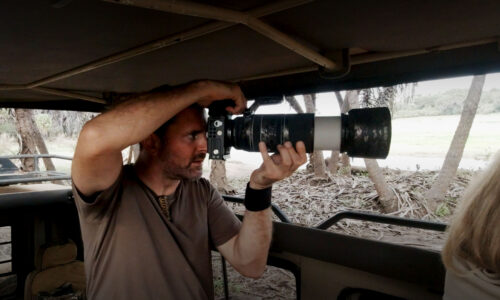
Next we need to talk about cameras and lenses for events like this and what the best type of lenses are or the best combination. Most often you’ll see pro photographers walking around with two camera bodies and various different lenses. Usually a huge telephoto lens on a monopod and a smaller lens for close up or wide shots. The reason for this is to have as much of the action covered as possible.
To begin with I was using the RF100-500 telephoto zoom lens along with the RF15-35 for wide or close to shots. This combination was working really well. The 100-500 lens is really outstanding but at f7.1 at the 500mm end can be limiting in lower light conditions. Thankfully this event was outside during the day so no need to worry about light. As you can see here I’m shooting in FV mode at 1/4000s, the aperture and ISO values are set to automatic. So when I start to zoom out the aperture will stay at its widest possible f stop for that focal length. The ISO will then adjust accordingly for the correct exposure. I’m also pushing the exposure compensation up in order to gain brighter images without clipping the highlights. But pushing the exposure compensation up will increase the ISO values, which is worth noting when working at higher shutter speeds, as you’ll need as much light as possible.
But here I’m comfortably working at a fast shutter with the ISO values bouncing from 250 to 3200. On the R3 camera ISO noise levels are really well controlled so I’m not concerned at all with the overall image quality from this camera.
My other camera is the R5 with the RF15-35 f/2.8 lens. This is a really fast and versatile lens. The image quality is great and it’s really light, tough and amazingly well weather sealed. Great for outdoor work. The great thing about the 15mm focal range is I’m able to stand really close to my subject and still able to fill the frame. The colours look great and with the optical image stabilisation I’m actually able to work at very slow shutter speeds if I wanted to and still get sharp, detailed results.
For this event I was shooting fast action so my shutter speeds were always fast.
As the weather started to turn bad I switched the 100-500 for my 400 f2.8. The larger lenses are so much easier to cover and keep dry in bad weather, especially when you have spend hours outside in wet conditions. But it also means having to carry a big bulky and heavy lens around, usually attached to a monopod. This type of lens is also a fixed focal length lens meaning it does not zoom in or out.
Therefore, you will need to move around a lot and change positions in order to capture your intended subjects. On the plus side this lens allows me to shoot at f2.8 at 400mm focal length. The resulting images are simply magical. This is without doubt the best type of lens on the market as it’s possible to connect a teleconverter to gain more reach and still have an f4 aperture.
The images coming out of this lens with the R3 were amazing. But when working with a fixed focal length lens means you’ll need to think about adjusting your technique. I’m unable to zoom in or out so you have to think about your positioning and anticipate the movement of your subject. Like in this example I’m simply waiting for my subject to fill the frame before activating the shutter. Sounds easy but you need to fast with the auto focus and shutter combination.
This is where the auto focus on the R3 really helps. It’s really fast and if adjusted for the right subject it can be very precise. I’m quite often managing to get shots that I would otherwise have missed if using single point focusing or the auto focus on the older DSLR cameras.
The other lens I was using at times was the RF70-200. This is an amazingly useful and versatile lens and when used with the R5 camera allow me to have a little extra reach with the 45 mega pixel sensor. I can comfortably crop in by around 40-50% and still have a 20 mega pixel image. This is a great combination as you can see from this example it seems like I’m quite far away from my subject but after cropping in I’m able to single out my subject, which is in focus with a clean background.
This is the great thing about using the R5 camera over an R3, R1 or even the R6. Those extra megapixels really help when having to crop in post production. Usually, I would use the R5 with the 400mm f2.8 lens because you’re more likely to have to crop with a fixed focal length lens.
The R5 with the 15-35 is also a great combination allowing me to crop in beyond the 35mm focal range.
It was a really amazing event to be covering and I hope to be doing it again next year. So after over 15,000 photos taken I can finally relax.
Thanks for watching, I hope this has been of some benefit, please give it a like or a share and subscribe for more videos.


